As I explained in my previous post, we recently got a bunch of raspberry pi’s to use in DH summer schools and classes at the University of Antwerp. The first thing we’ll be doing with the students, is to help them set up their pi’s. Each pi comes with an SD card that already has NOOBS on it, so this process is pretty straightforward. Let’s see what we have to do.
1. Physical Setup
Since this is the first time we’re using the raspberry pi’s, we’ll first have to unbox them and put them together. We got these beginner packs [LINK], because we’ll need cases for them (for safer storage afterwards), SD cards, Micro-SD to USB convertors, etc. The nice thing about this pack, is that the plastic of the case is see-through, so the students will keep seeing the actual chip, rather than just another little black box.
— pictures of clicking stuff together,
— glueing the coolers on
— plugging the monitors, mouses, ethernet, and power in
2. Booting Raspbian
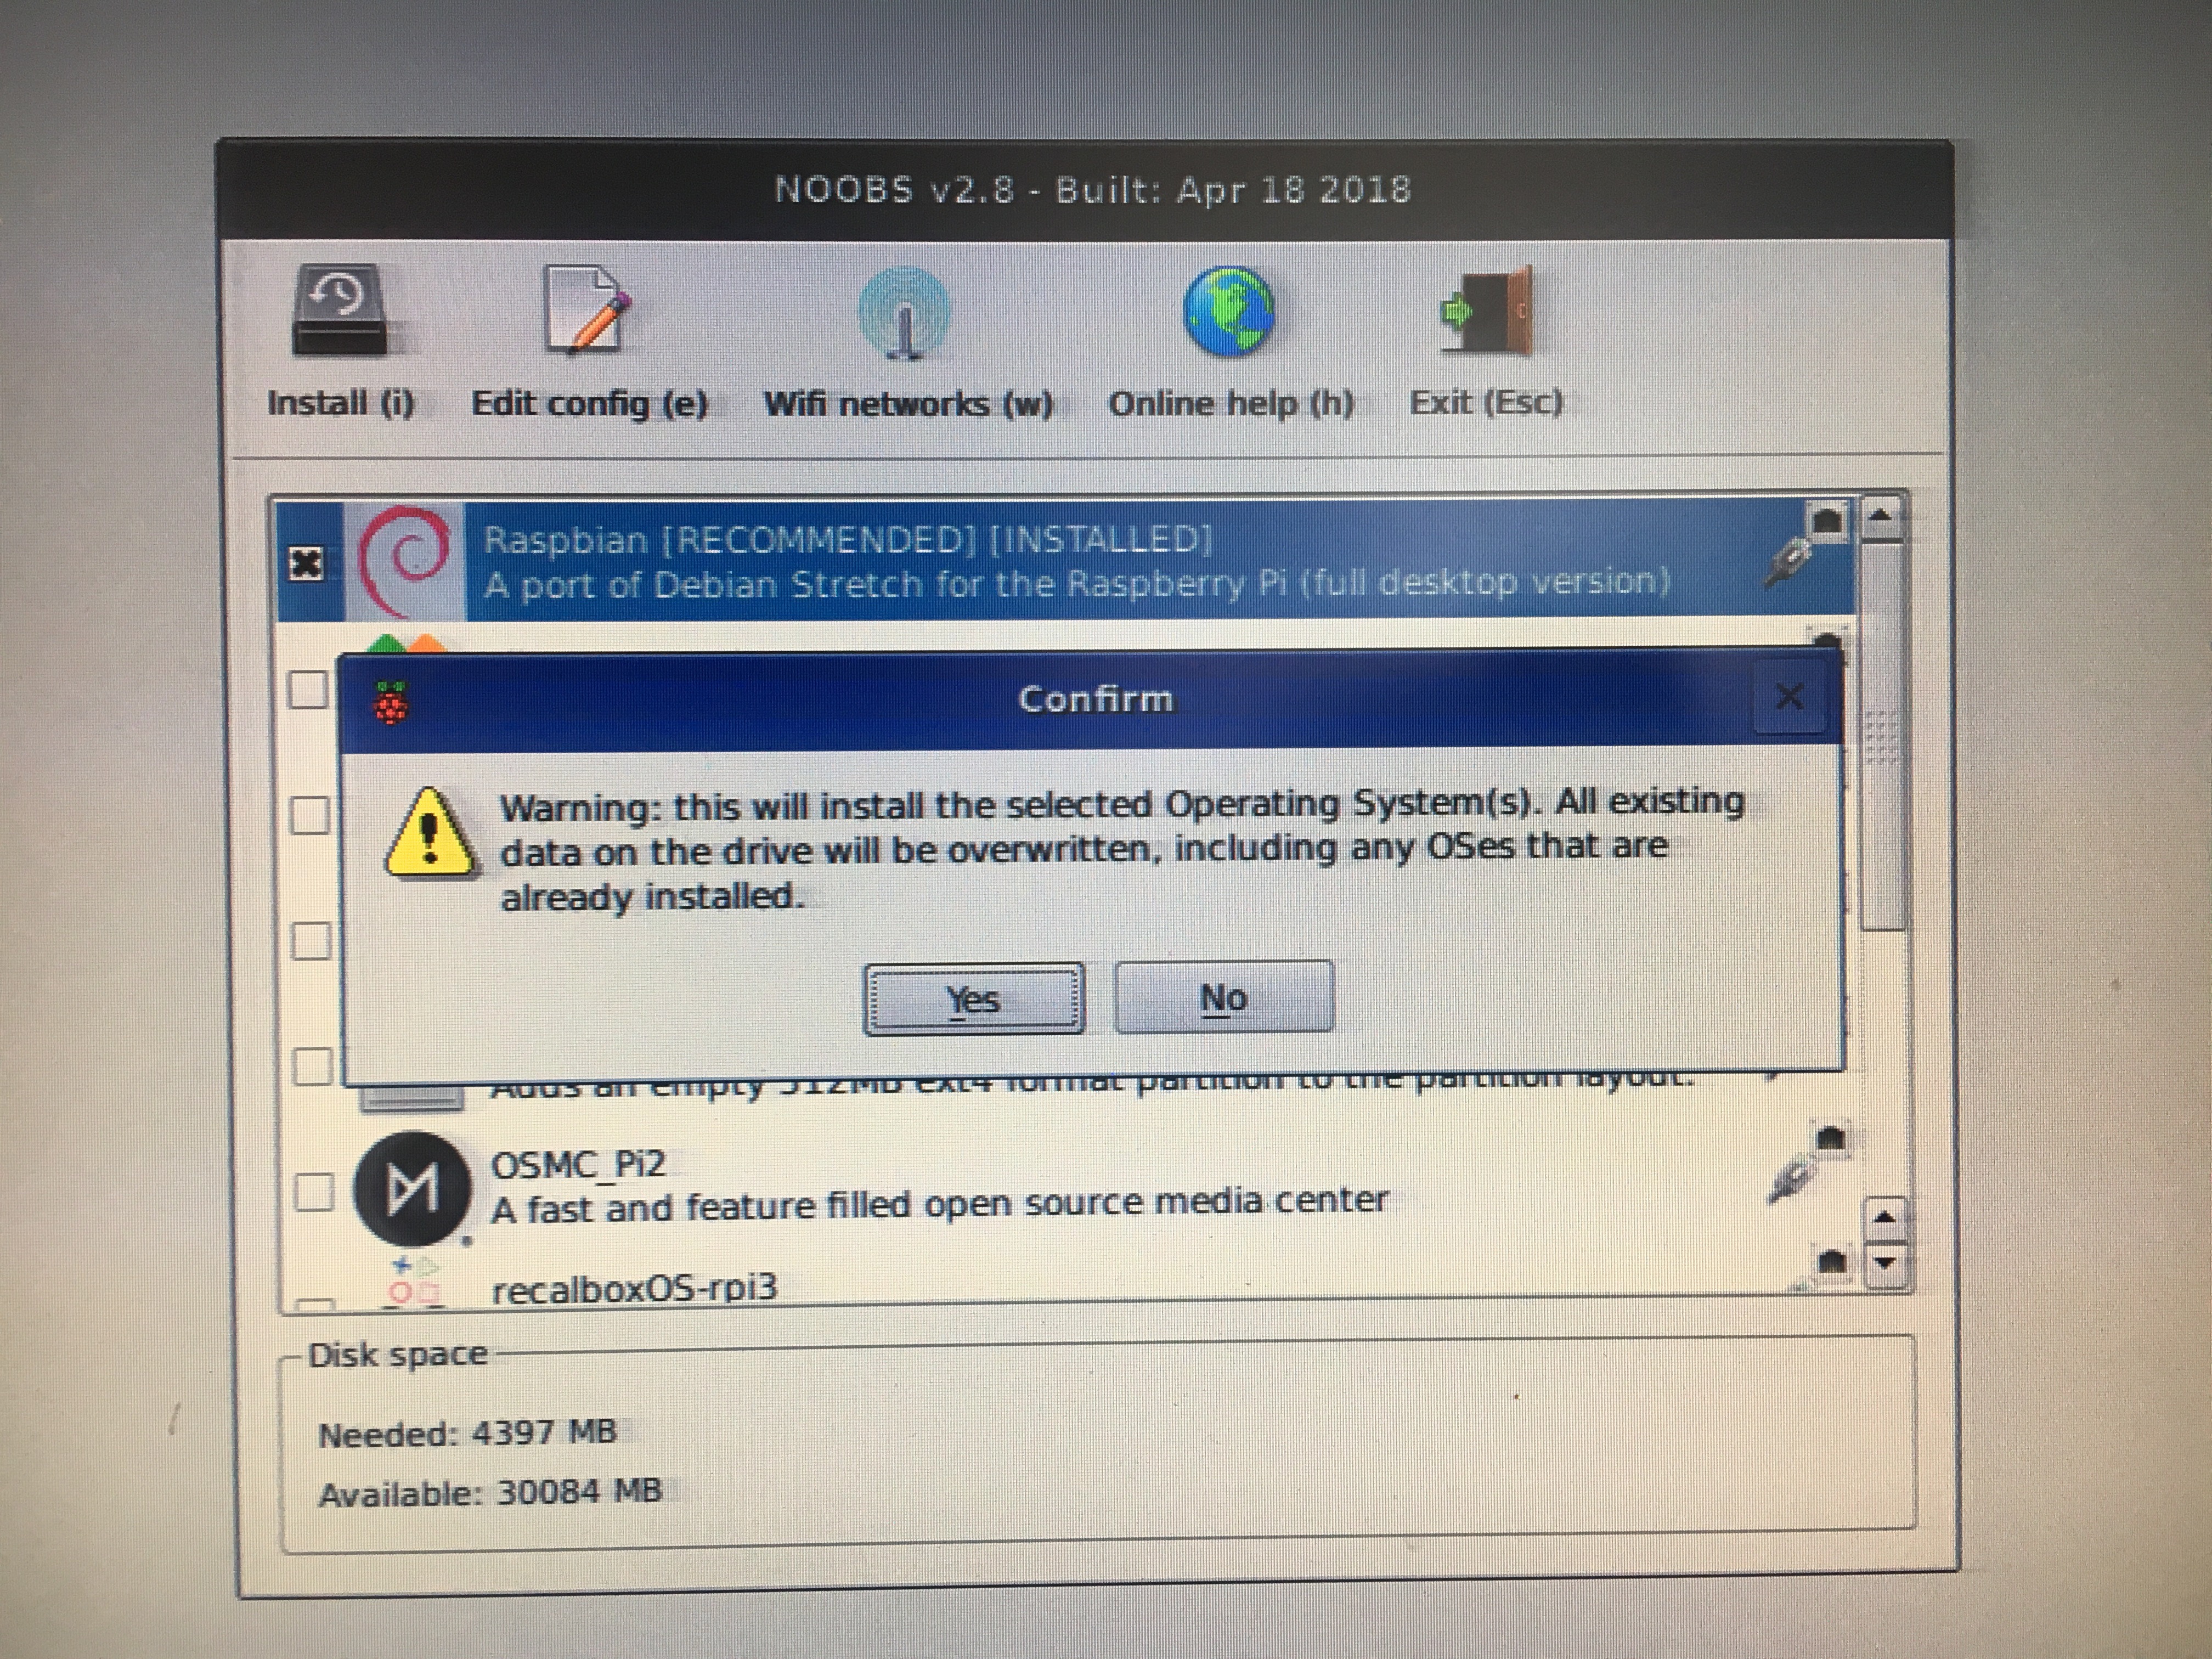
Once the pi’s are up and running, we should see the following screen:
We’ll be using the recommended Raspbian installation, we just select that one.
be (for Belgium) in the Keyboard menu. Your case may be different.Normally, this is also the place where you connect to a WiFi network (for which you may get a prompt, if not: click the WiFi Networks button). We’re not going to do that, because we will only be connecting through Ethernet later (because of the network issues I talked about in the previous post). But if you’d like to use WiFi for downloads etc., it’s best to fill this in now, before we continue.
Finally, when you’re good and ready, click the Install button (or press the i key on the keyboard). You’ll get a warning that this will overwrite any existing data and OS on the SD card, which in our case (because we want a clean start, and have no important information on the SD card) is exactly what we want.
So we press YES. This will start the installation process, which will take some time (in our case 25 minutes). When it’s done, we get a message that the OS was installed correctly and press OK. Then we see some terminal messages and the raspberry pi logo, that will take us to our new desktop. Success!
3. The Setup Prompt
Once we’re on the desktop, we get a message prompt inviting us to continue setting up the OS. Let’s do that first. After asking you to set your location (country, language, time zone), the pi will give you the change to change your pasword. It is highly recommended that you change this into something less generic. If you’re instructing your students to change their paswords, ask them to use a pasword that is not personal, and to note them down – because we’ll be sharing them with each other later.
Afterwards you’ll get the chance to connect to a WiFi network, but you’re probably already connected to the internet at this point, in which case you can just press skip. Then you can let the pi check for updates (installing them will take a couple of minutes – in my case about 12).
When the pi tells you your system is up to date, press OK. Then the pi will tell you that for these changes to take effect, you’ll need to reboot your machine. You can click REBOOT if you want, but we still have a step to go, that will also take a reboot. So we’re going to skip this reboot for now, and exit out of the prompt (pressing the x in the top right corner), and move on to the next step.
4. Some more preference changes
Besides these default setup options, we need to make a couple of changes of our own. Which is what we’ll do now. In the top right corner, you’ll see an icon in the form of a raspberry. Click there and go to Preferences > Raspberry Pi Configuration.
In the System tab, your first option is to change your password. But we’ve already done that, wo we go on to the hostname field. Here, you’ll notice that the Hostname of this raspberry pi is the generic ‘raspberrypi’. We’ll be asking our students to change this into their own name, so it will be easier to identify their individual machines in the network later on. So go ahead and make this hostname your own.
We’ll leave the rest of the System options as they are, and go to the Interfaces tab instead. There, it’s important to enable SSH. If you’re doing this for yourself and want to be able to connect to your pi via VNC as well (to use another device, like a phone, tablet, or computer to visualise your raspberry pi’s desktop), enable that option too. It’s not something we are using for the class, but it’s useful for personal use, and I’ll walk you through setting this up in another post.
That’s it! Press OK. The OS will tell you that a reboot is needed for the changes to take effect, so press YES this time, and wait for the pi to shut down, restart, and log you into your new desktop (which will take less than a minute). You can now use the pi as you would any other computer. Enjoy!


